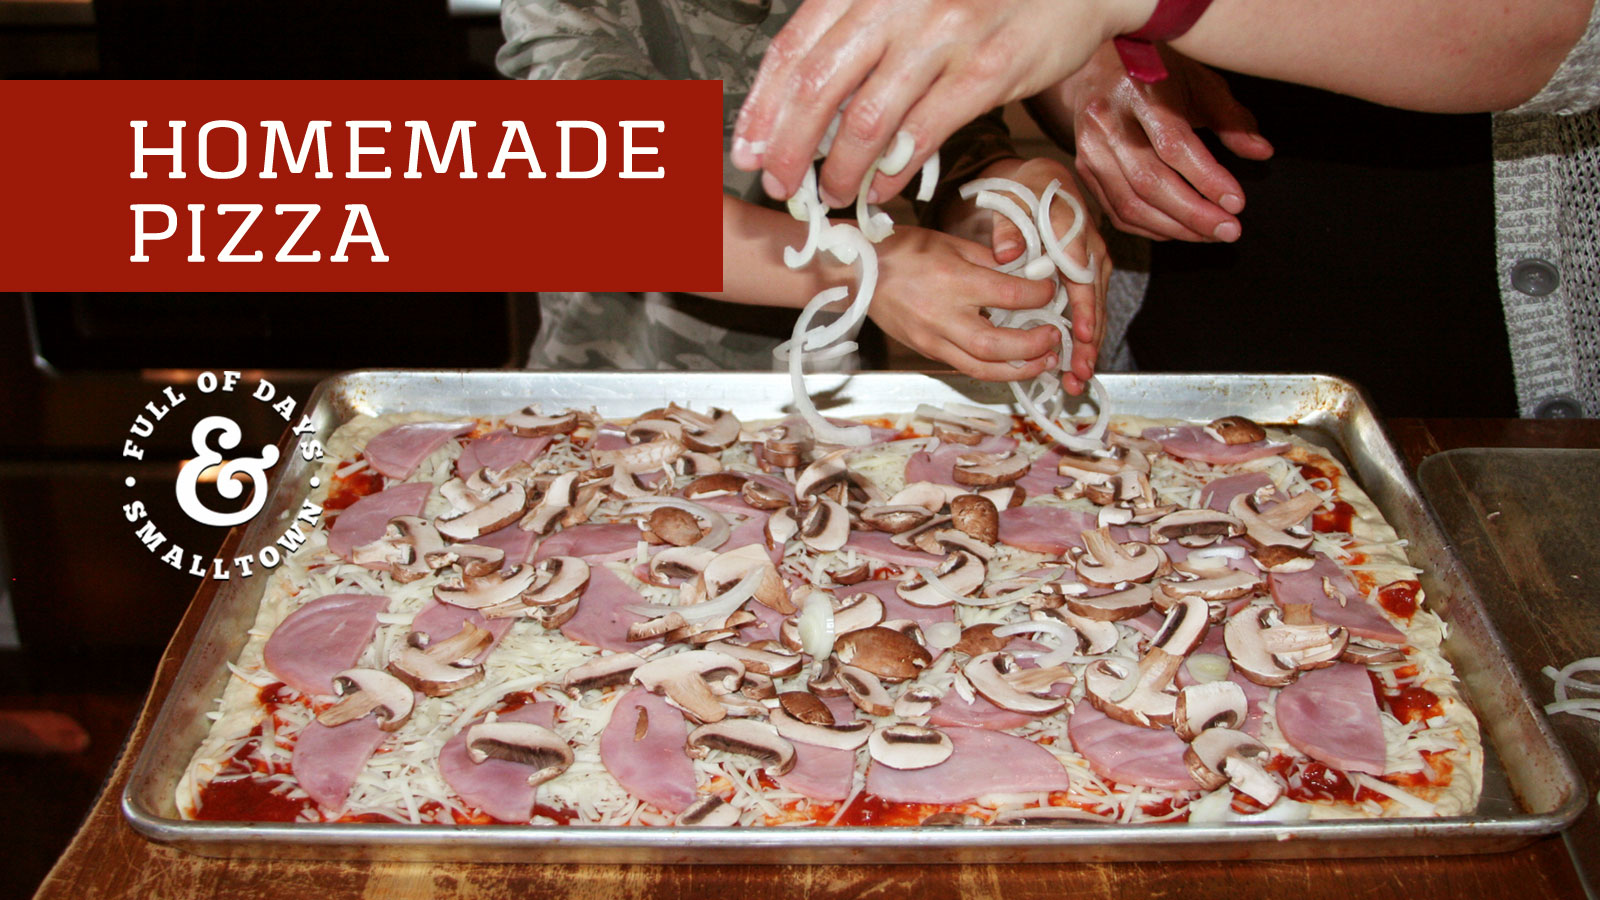
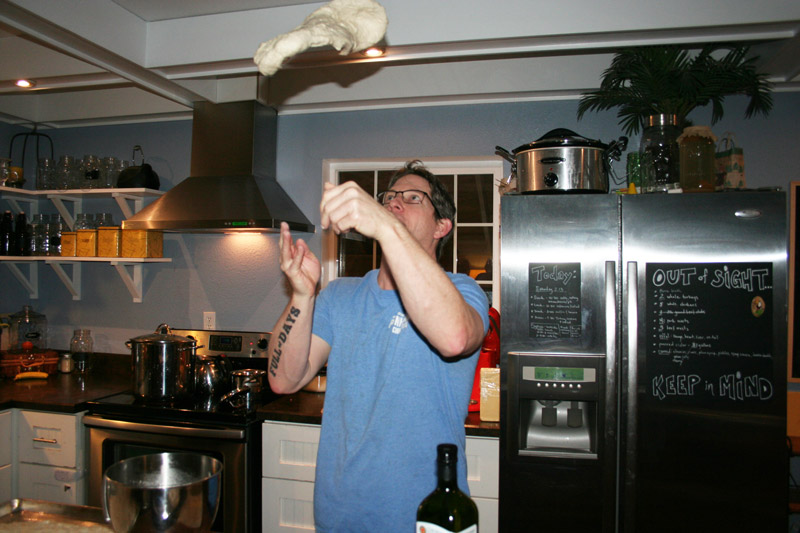
izza night is one of our favorite nights of the week. It’s the dinner the whole family gets involved in making. From slicing, dicing and shredding the toppings to decorating their individual pizzas. Our favorite part is the competition between mom and dad to see who does the best “pizza toss”. Our kiddos make fantastic little judges (albeit a bit biased).
…ate salad for dinner! Mostly croutons and tomatoes. Really just one big, round crouton covered with tomato sauce. And cheese…
Fine, it was pizza. I ATE PIZZA!” – Unknown
There should be no need to defend your food. When you eat a healthy diet, consisting of real food (not food-like substances made from unrecognizable ingredients), having pizza for dinner should be something that’s shared, not shamed! The following recipes both use real food ingredients (imagine that!), and the sky’s the limit when it comes to toppings…get creative!
Traditional Crust Recipe
1 1/2 cups very warm water
2 teaspoons yeast
2 teaspoons sugar
3 1/4 cups flour
1 teaspoon salt
1 Tbs Avocado oil*
*Can sub olive oil
To Make: Shout out to FabFoods for the original crust recipe. We have since adapted it and made it our own, but the basic premise remains. We hope you enjoy this recipe as much as we do!
The following recipe makes two medium sized pizzas, each feeding 2-3 people. This recipe doubles nicely and the dough can even be made ahead of time and frozen or stored in the refrigerator (beware, dough continues to rise in the refrigerator and has been known to bust through sealed plastic zipper bags, oyie!), see below for make ahead directions.
Step 1: Using a stand mixer, add hot water, yeast and sugar to your bowl and give a quick stir and allow to sit for five minutes. (We use very hot water for this step as once I’ve added the water to the cold mixing bowl, it’s about the perfect temperature for the yeast.)
Step 2: While yeast is proofing, in a separate bowl mix together flour and salt.
Step 3: Once you see small bubbles forming in the liquid (this tells you your yeast is alive and doing its job…if you don’t see any bubbles after 5 minutes, it’s possible your yeast is no longer active.), slowly add the dry ingredients and, using the dough hook, knead your dough until it becomes smooth and elastic (about 3-5 minutes).
If you think your dough looks too dry, you can add a little more water, one tablespoon at a time. Alternatively, if you think your dough is too wet, you can add more flour, one tablespoon at a time. It’s better to have a “wetter” dough as it will lose some of it’s stickiness as it rises and will be easier to work with later.
Step 4: Place oil into a clean, dry bowl and allow it to coat the sides. Get some of the oil on your hands and transfer your dough to the oiled bowl, forming it into a ball. Cover bowl with plastic wrap and allow to rise at room temperature until doubled in size (about an hour).
Step 5: If you have a pizza stone, preheat the stone as your oven preheats to 500℉.
Step 6: Once oven is preheated, roll (or toss!) your pizza dough into desired shape and thickness. We use a full size sheet pan and bake our pizza in a rectangle shape. We prefer a crispy thin crust, so we try to roll out our dough as thin as possible.
Step 7: Bake your crust for 10-12 minutes, poking with a fork if you notice bubbles forming.
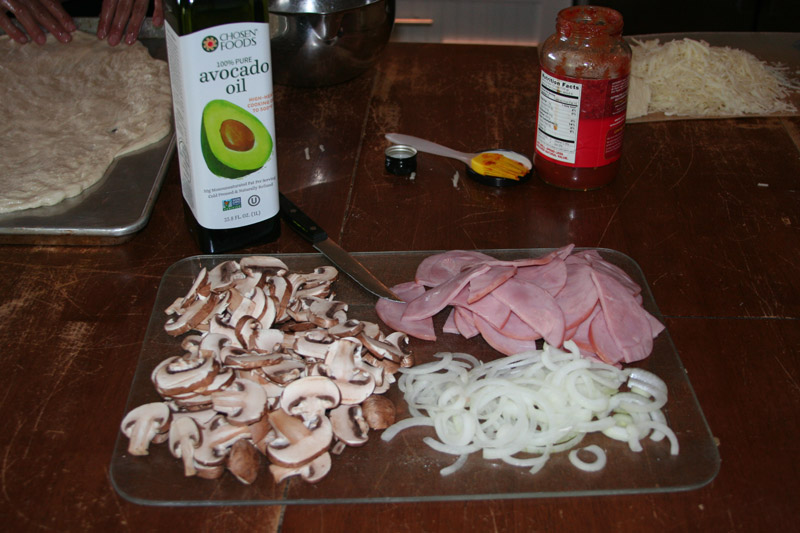
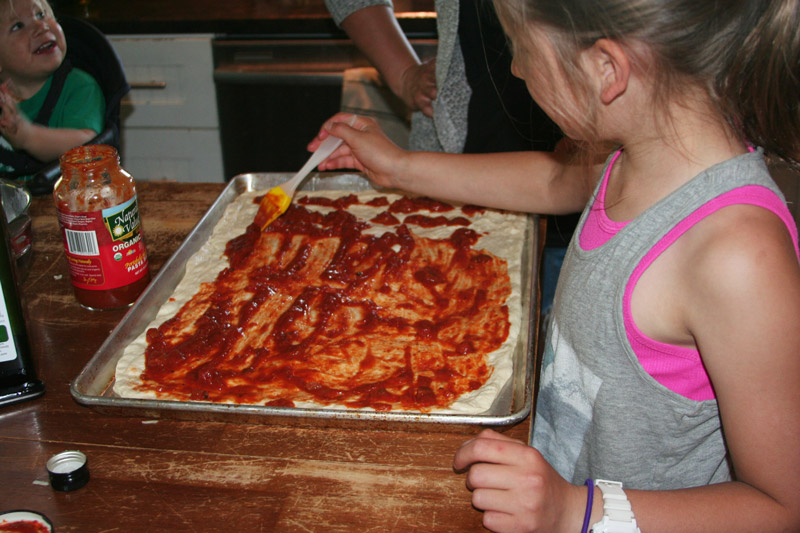
Step 8: Sauce, cheese and top your pizza however you choose and bake again until cheese is melted and toppings are heated through (if using toppings that require a longer cook time, such as onions or peppers, you can reduce the time you pre-bake your crust to keep crust from burning during the second bake time).
*To make dough ahead of time, let rise once, punch down and store in the refrigerator in a ziptop bag until ready to use (beware, you may need to punch down your dough once or twice to keep it from growing out of the bag and all over your fridge…true story!). Let dough come to room temperature before proceeding.
Double or triple this recipe and, after first rise, freeze in ziptop bags. Allow to thaw in refrigerator for a few days, or at room temperature for 4-6 hours. Bring to room temperature before proceeding.
Sourdough Crust Recipe
1-1/2 cups sourdough starter
4 to 5 Tbs avocado oil*
2 tsp sugar
1 tsp salt
1-1/2 to 2 cups flour
*Could sub olive oil or melted coconut oil.
Buy from Amazon
Avocado oil
Sugar
Flour
Salt
Olive oil, Coconut oil
Buy from Azure
Sugar
Flour
Salt
Olive oil, Coconut oil
To Make: This sourdough crust recipe is from our friends at Cultures For Health, they’re our very favorites when it comes to anything ferment-y! We use a large stainless steel pizza pan which yields a crust on the thicker side, therefore requiring a longer cooking time. Adjust cooking time for thinner crusts.
The original recipe doesn’t call for a soaking time, so it would be my recommendation to use sprouted flour to aid in digestion and avoid intestinal upset!
Step 1: Preheat the oven to 500°F.
Step 2: In a stand mixer, add sourdough starter, one tablespoon of oil, salt and 1-1/2 cups of flour. Add more flour, one tablespoon at a time, as needed to form a pizza dough consistency. The amount of flour needed will depend on the hydration level of your sourdough starter (the flour-to-water ratios used when feeding the starter, my starter tends to be on the dryer side).
Step 3: Cover bowl with plastic wrap or a clean kitchen towel and allow the dough to rest for 30 minutes as it will be easier to roll out. (It won’t rise significantly, if at all.)
Step 4: Using a rolling pin, roll the dough out into a circle using a minimum amount of flour to prevent sticking.
Step 5: Bake crust for 10-12 minutes, remove from the oven and brush on the remaining oil to prevent the toppings from soaking into the crust and making it soggy.
Step 6: Add toppings and bake again until the cheese melts and toppings are heated through.
*It’s best to use a sourdough starter that is very active, meaning it has been fed three times 4 to 12 hours apart prior to making the pizza crust (if you’re in the routine of feeding your sourdough daily, you should be just fine!).



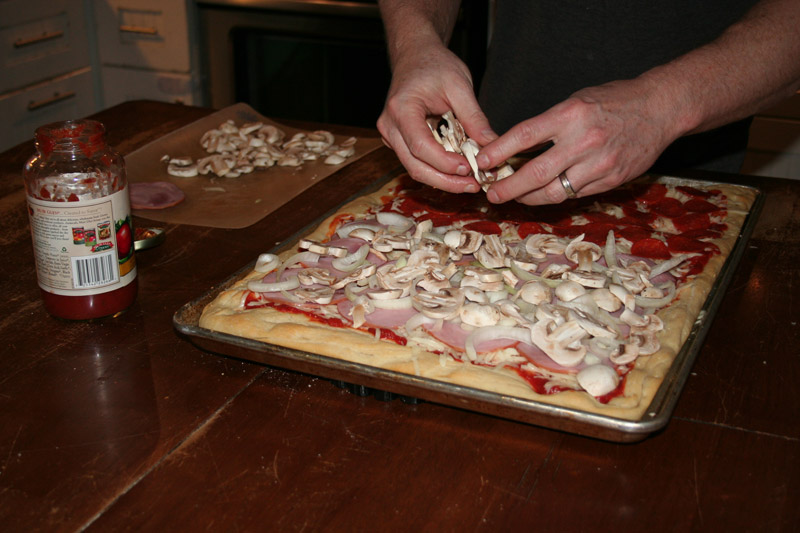
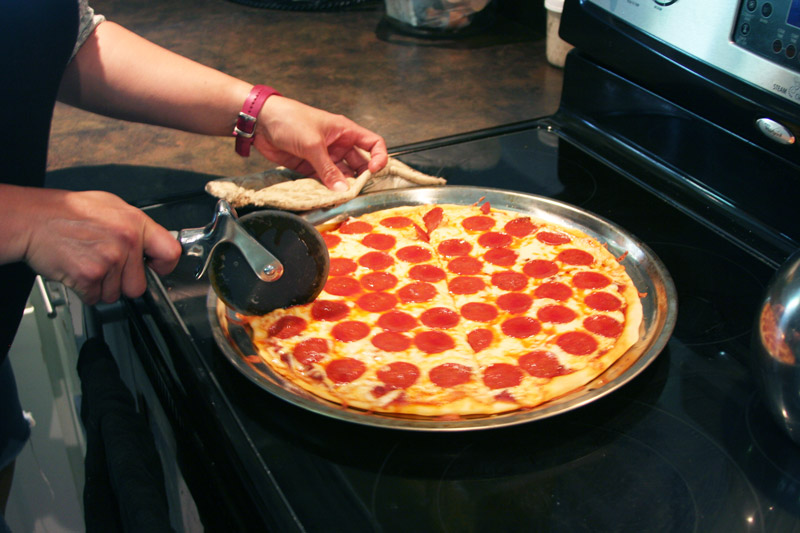

We love making homemade pizza as a family. It’s so fun to customize the toppings for everyone. Mine is always so colorful :).
Definitely Tiffany! Colorful pizzas are so fun! Our kids love when I make them individual pizzas to top!
We love our sourdough pizza as well, especially the slow risen ones. Nothing quite like it.
It’s true! The sourdough crust is so different than yeast crusts. We love both!
I love homemade pizza! Nothing like it!
It’s our favorite! Especially because everyone gets their favorite toppings! (Even mom who loves pesto/garlic/feta/tomato pizza!)
So funny, we made homemade pizza last night and I was wondering if you had a sourdough crust recipie!? Thanks for sharing this, can’t wait to try it!
Yes! The sourdough crust recipe was a winner! We all agree that a thinner sourdough crust is best as it’s a bit dense when it’s thick. Mmm, now I want pizza!
Thanks! I used bread flour and I agree it’s too dense! I prefer a thinner crust! Next time!! ???? thank you!!