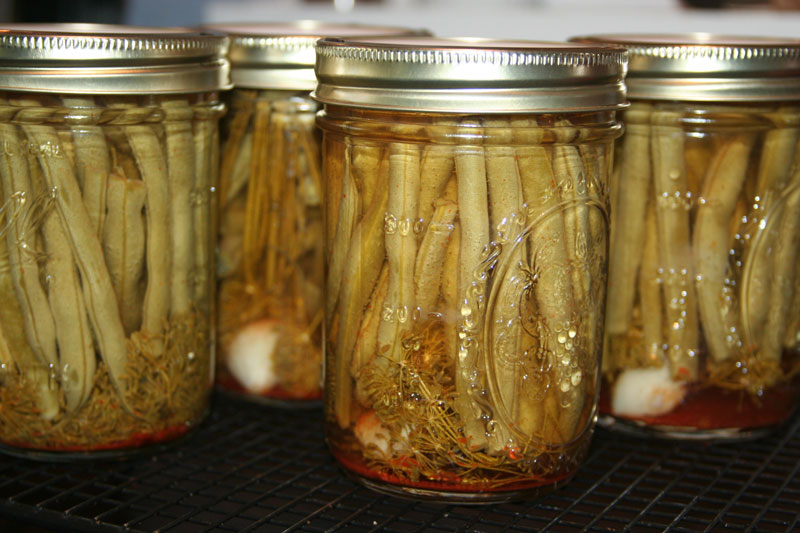
ast year, bush beans grew phenomenally in my garden. Unfortunately, I was ill prepared for the bounty and most went straight to the freezer to be used for Green Bean Fries (see recipe below). We’re forever indebted to our friends who shared their surplus to quench our dilly bean obsession craving throughout the year!
This year, I tripled the amount of bush beans planted and geared up ahead of time so I was armed and ready once those beanie-weanie’s were ready for the pickin’.
Three of the best things I’ve learned as an amateur canner:
- Process fruit or veggies as they ripen (small batches). Even though you’ll be doing smaller batches, this keeps the monumental task not so…monumental. Also allowing for quicker cleanup and only a few hours spent canning, rather than an entire day devoted to the task.
- When the weather is scorching (as it so often is this time of year) get yourself an outdoor 2 or 3 burner cook stove and can outside, keeping the heat out and your house cool. Be sure your propane tank is full before canning day arrives!
- Keep all your canning supplies together. I store my lids, bands, canning tools and canning bible inside my large canning pot. That way I’m not running around the house, frantically trying to find those wide mouth lids I just know I bought last year!
- Ok, so I know I said three things, but this one’s worth the mention – buy canning supplies off season and scour garage sales for killer deals. Get an idea what regular prices are for canning supplies (or even keep it on a little note in your wallet) so when you run across someone selling 25 quart jars you’ll know if their asking price is fair!
Since I followed my own advice this year, I was ready to go once the beans were picked. Many hands make light work, so mom, dad and all the kiddos scoured the plants for the ideal bean (about the height of a pint jar). Once picked, I had enough to almost fill a one gallon bucket.
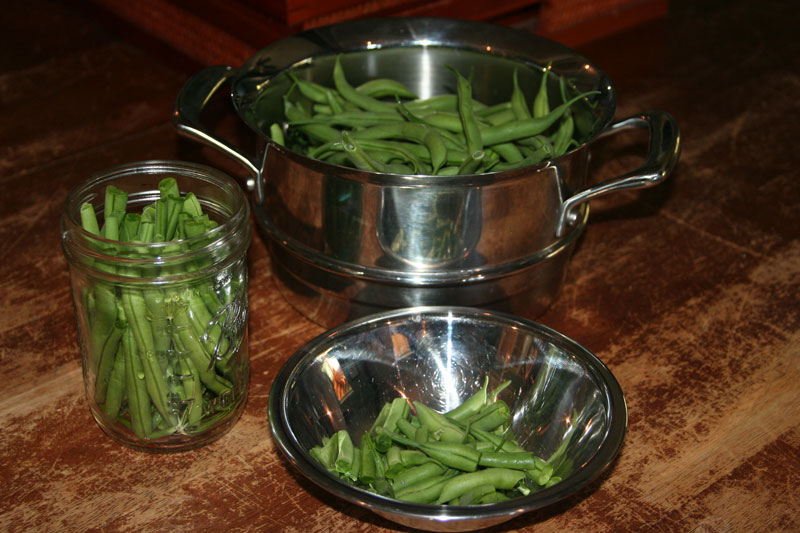
We washed them, then snapped the ends off (which ALWAYS reminds me of snapping beans on my grandparents back porch). This was all we did day one because we decided to go play with friends instead of staying home to can beans.
The next day I had an allergy attack and opted to keep my sneezes out of our dilly beans. So by day three my beans were looking a little sad. Again, I remembered a tip I picked up…can’t remember where, but probably from my mom (or FoodNetwork). I plunged the beans into a sink full of ice water and tada! They became just as firm as the day they were picked. In case you were unaware, this is also the method used when blanching items to halt their cooking process!
So with fresh-ish picked beans and all my canning supplies/ingredients I was ready for canning. If you didn’t plant beans this year (or don’t have a garden) but still want to make dilly beans, head to the local farmers market or grocery store and pick up some organic green beans, they’ll be the best price this time of year so load up!
The recipe below is written for “newbie canners”…I still appreciate following nitty-gritty details when trying a recipe for the first time, especially a canning recipe, because I’m sure to mis-manage my time otherwise. It’s great to be reminded to start heating the water in the canner before packing my jars, that way I’m not sitting around for 20 minutes literally waiting for the pot to boil (remember, it never happens!). If you’re a canning pro, just humor us beginners who like all the steps!
Supplies/Ingredients
Canning Supplies
Pint jars/lids
2 pounds green beans
1/4 cup salt
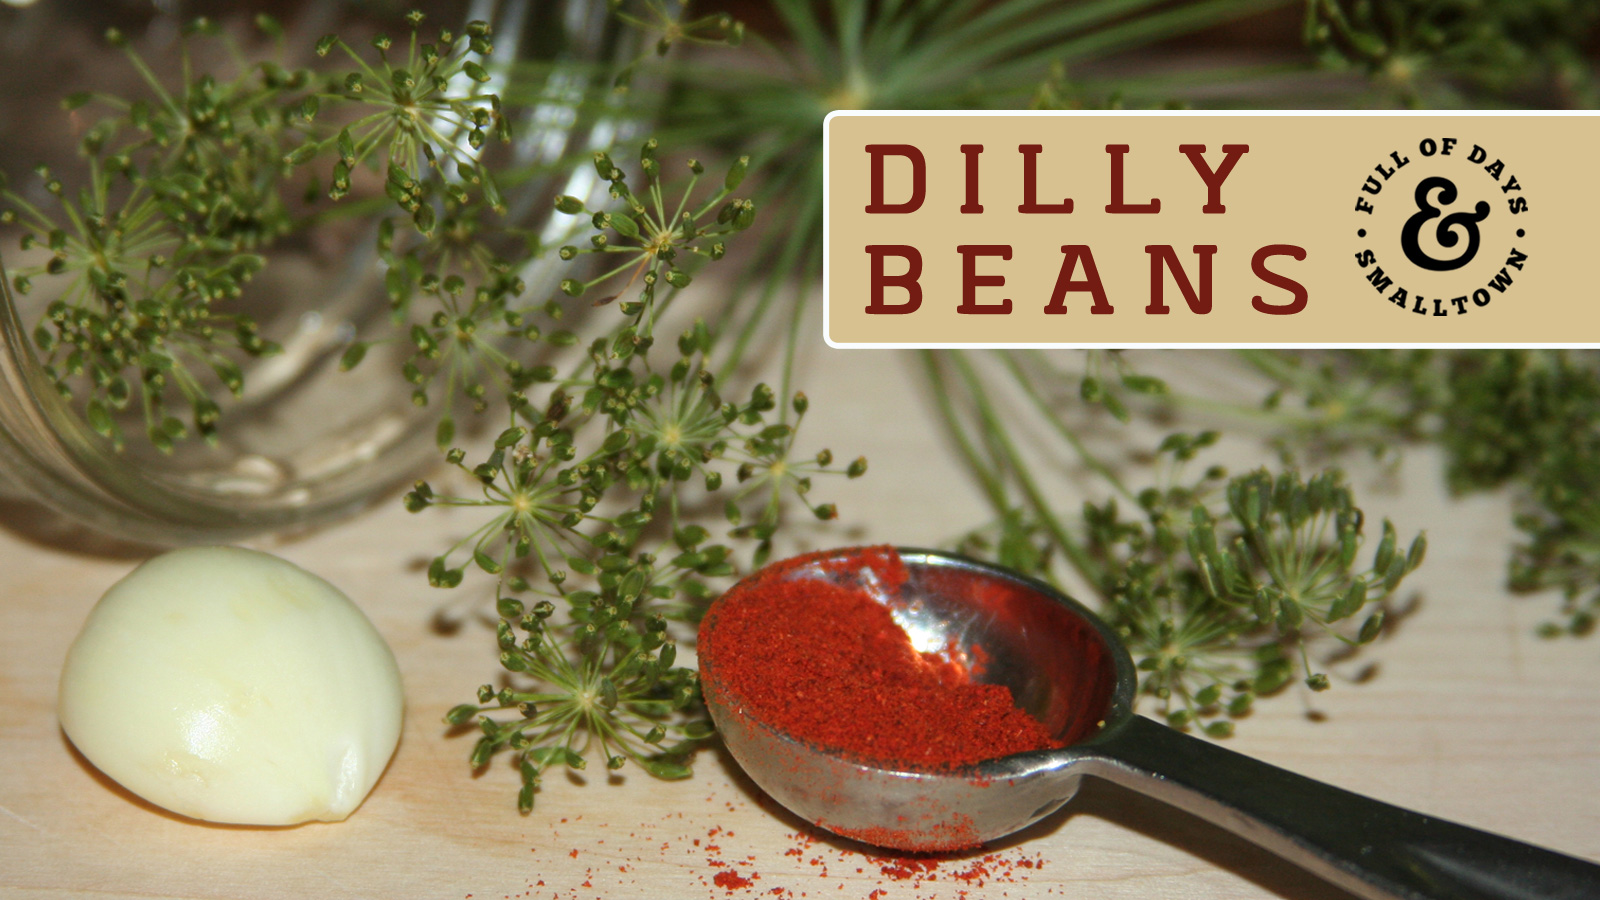
4 heads fresh dill
4 cloves garlic
1 tsp. cayenne pepper
2 1/2 cups vinegar
2 1/2 cups filtered water
Buy from Amazon
Canning Supplies
Pint jars/lids
Sea Salt
Organic Cayenne Pepper
To Make: This recipe is from The Ball Blue Book (aka The Canning Bible) and makes approximately 4 pints.
Step 1: Wash and snap beans and gather canning supplies.
Step 2: Fill canner with water (usually about 4-5 inches deep) and bring to a boil. Also, bring a small pan of water to a boil and place lids into boiling water, reduce heat to low and keep lids in water until ready to top jars.
Step 3: Submerge clean jars in a sink full of hot water (alternatively run them through the dishwasher and leave them in there until ready to use), this keeps the jars warm and reduces the chance of breakage once the hot liquid is added. (cool jars + hot liquid = cracked jars = big bummer)
Step 4: Combine vinegar, water and salt in a pot and heat to boiling, allowing all the salt to dissolve (if using natural sea salt, it’s normal to see pink residue on the bottom…yay for trace minerals!). Reduce heat and simmer until ready to fill jars.
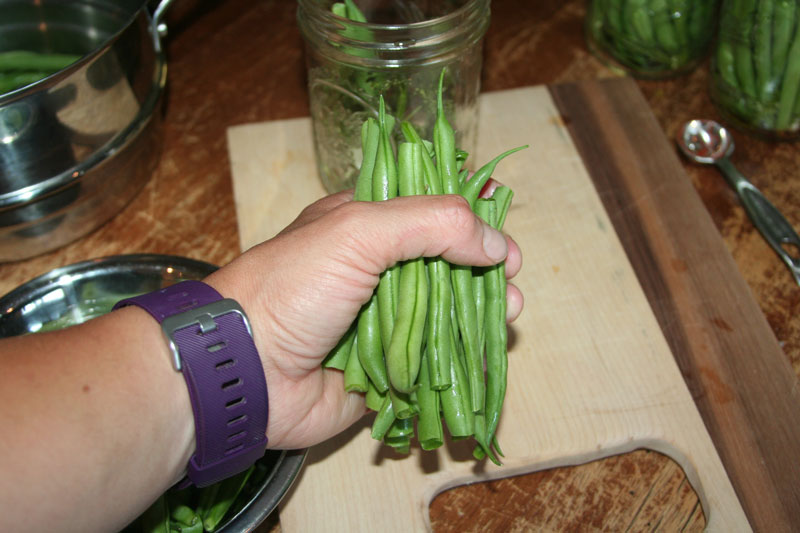
Step 5: Place one head fresh dill, 1 clove garlic and 1/4 tsp cayenne in each jar, fill with beans, aligning them vertically, as many as you can shove into the jar. You’ll want to pack them tightly.
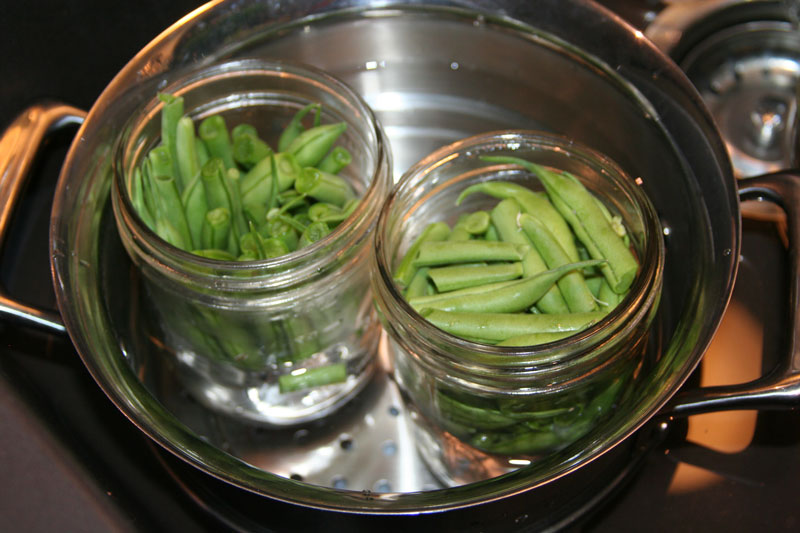
Step 6: If jars have cooled off, place them back into the sink of hot water. Be sure the water doesn’t get into the jars, this is simply warming them back up if needed.
Step 7: Ladle vinegar/salt water into the jars (a funnel really helps here) leaving 1/4 inch headspace. Headspace is the unfilled space in a canning jar between the top of the food or liquid and the underside of the lid. Use the long “air bubble remover” tool (I’m certain this is it’s proper name) to remove excess air from jar. My “air bubble remover” has a handy headspace measuring tool on the opposite end so it’s a 2-in-1 tool! Wipe rims of jars with a damp towel.
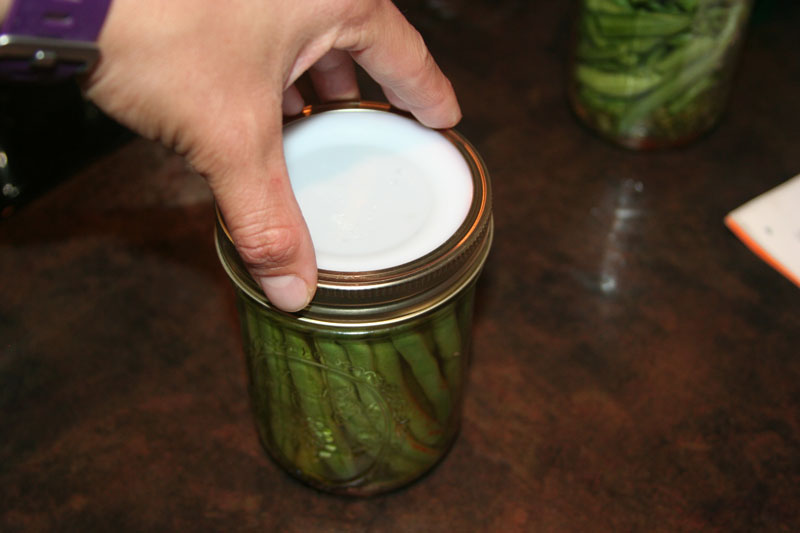
Step 8: Using the magnetic “lid lifter” tool (my favorite tool!), fish a lid from the pan of hot water and place onto jar. Screw on band to fingertip tight (tighten with fingertips until you feel resistance, then stop…lids will not be super tight, this allows for air to escape during processing).
Step 9: Using the jar lifter (incase you haven’t noticed yet, these canning tools really are handy!), lift jars into tray of canner. Once all jars are arranged on tray, lower into canner. Be sure water is covering lids by about an inch (to ensure jars stay covered throughout the processing time) and once water returns to a boil, process for 10 minutes.
Step 10: Remove jars from canner (with the jar lifter) and place on a folded kitchen towel or cooling rack to cool to room temperature. It’s important to use a kitchen towel if you have marble, granite, stainless or other countertops that stay cool as the sudden temperature change may shock the jars and cause them to crack.
Many of my lids “pop” and “ping” (aka – seal) within a couple minutes, but sometimes they seal slowly and silently. If using re-usable lids such as these, you will not hear a popping sound but will still need to check for a proper seal once jars are cooled.
To check for a proper seal, remove metal bands and gently lift jar by lid. Only lift it one or two inches in case the seal breaks. If jars are sealed, wipe them down with a clean, damp towel to remove any food residue and store without bands.
Beans are ready to eat once processing is complete, but for best flavor, I suggest storing them for 2-4 weeks prior to consumption…if you can wait that long. We never can!
Green Bean Fries Recipe
Drizzle beans with avocado oil and arrange in a single layer onto a baking sheet. Bake at 425℉ for 15-20 minutes, stirring once or twice. Beans will turn golden brown and get crispy on the ends when finished. Remove from oven and season with salt, pepper and garlic powder. (This basic recipe is wonderful for many veggies: broccoli, asparagus, summer/winter squashes, carrots, etc.)
If your kiddo isn’t a fan of veggies, try this recipe and you may just change their mind!


